

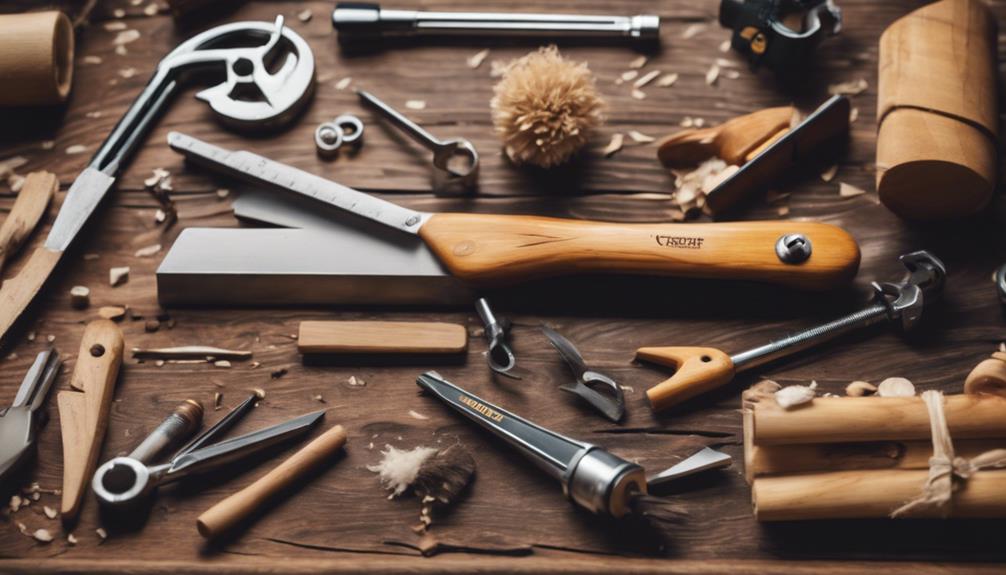
We've often heard that the right tools can make or break a beginner's wood carving experience, and it's time we put that theory to the test. With an array of knives, gouges, chisels, and more at our disposal, choosing the best ones can be intimidating.
We'll explore the essentials, from selecting the perfect carving knife that feels like an extension of your hand to understanding why a good set of sharpening stones is vital for maintaining the integrity of your tools. Join us as we uncover the must-have tools that promise to elevate your wood carving journey from frustrating to fulfilling.
Key Takeaways
- Select a versatile carving knife that is comfortable, sharp, and suitable for various tasks.
- Incorporate 'U' and 'V' gouges for adding texture and creating detailed cuts in your projects.
- Use sharpening stones with a range of grits to maintain the sharpness and precision of your carving tools.
- Prioritize safety with protective gear like safety glasses, dust masks, and cut-resistant gloves to prevent injuries and health issues.
Choosing the Right Knife

Why start anywhere else when choosing the right knife is important for any beginner in wood carving? We've found that the journey into wood carving begins with a simple step: selecting the perfect knife. It's the cornerstone of all your future projects, shaping your experience and the quality of your work.
We're talking about a tool that feels just right in your hands, one that's sharp enough to cut cleanly through wood without requiring excessive force. It's not just about the sharpness; the handle's comfort, the blade's length, and the flexibility are all vital elements that contribute to a seamless carving experience.
We've seen beginners get overwhelmed by the array of choices. However, we can't stress enough the importance of starting with a versatile carving knife. This isn't just any knife; it's a balanced tool designed specifically for wood carving, capable of performing a wide range of tasks from rough cuts to intricate details.
Gouges: Types and Uses
After selecting the perfect knife, it's important to explore the world of gouges, which are indispensable for adding depth and texture to your wood carving projects. Gouges come in various shapes and sizes, each designed for specific tasks within the carving process.
There are two main types of gouges we'll focus on: 'U' gouges and 'V' gouges. 'U' gouges, also known as sweep gouges, have a curved cutting edge and are perfect for scooping out wood to create smooth, rounded contours or hollows. They're essential for shaping and modeling the surface of your work. The curvature of the 'U' gouge varies, with deeper curves allowing for more aggressive material removal and shallower ones ideal for finer, more detailed work.
On the other hand, 'V' gouges have a V-shaped cutting edge, making them ideal for creating sharp lines, textures, and decorative cuts. They're especially useful for outlining designs, adding detail, and creating textural effects in your carvings. The angle of the 'V' can vary, with sharper angles allowing for finer lines and wider angles suited for more pronounced grooves.
Incorporating these gouges into your toolkit will significantly expand your carving capabilities, enabling you to tackle a wide range of projects with greater detail and creativity.
Chisels for Detailed Work

Moving onto chisels, we find them essential for executing fine, precise cuts that bring out the intricate details in our wood carving projects. Chisels are the unsung heroes when it comes to adding those final touches that transform a piece from good to great. They're not just tools; they're our partners in the creative process, allowing us to express the minutiae of our artistic vision.
When we're working on detailed carvings, we rely heavily on a variety of chisels, each serving a specific purpose:
- Straight chisels: Ideal for creating clean straight lines and edges.
- Skew chisels: Perfect for reaching tight spaces and corners, providing an angled cut that's hard to achieve with other tools.
- Fishtail chisels: These offer great maneuverability around curves, making them indispensable for intricate designs.
- V-parting chisels: We use these to create sharp lines and textures, adding depth to our work.
- Micro chisels: For the finest details, nothing beats micro chisels. They allow us to work at a scale that other chisels can't match.
Choosing the right chisel for the task at hand is essential. Each type brings something unique to the table, enabling us to refine our carvings to an impressive level of detail.
Mallets for Precision
In the world of wood carving, mallets play an important role in achieving precise strikes that guarantee our chisels cut accurately and efficiently. When we're looking for the right mallet, we consider the weight, material, and size that'll match our project needs. Typically, we find ourselves choosing between wooden and rubber mallets.
Wooden mallets, made from hardwood like maple or beech, offer a traditional feel and deliver a controlled impact that doesn't damage our tools. Rubber mallets, on the other hand, provide a softer touch, which is great for more delicate tasks where we can't afford to leave marks on the wood.
We also pay attention to the size of the mallet head. A larger head distributes the force over a wider area, which is ideal for broad chisels and rough shaping. For finer detail work, we opt for a smaller mallet that allows for more precision. The weight of the mallet affects how much force we need to apply. Heavier mallets pack a punch with less effort, making them suitable for long carving sessions.
Wood Rasps and Files

Turning to wood rasps and files, we find these tools indispensable for shaping and smoothing our projects with unparalleled precision. They allow us to refine our work, adding that touch of finesse that distinguishes a good piece from a great one. When we're working on a carving, the ability to gently remove material and shape curves or intricate details is essential. That's where wood rasps and files come into their own.
- Rough Wood Rasps: Perfect for removing larger chunks of wood quickly. They're our go-to when we need to shape our piece in the early stages.
- Cabinetmaker's Rasps: These are finer than the rough wood rasps and ideal for more detailed work, helping us achieve smoother surfaces.
- Needle Files: For the finer details and tight spots, needle files are indispensable. They let us work in areas larger tools can't reach.
- Half-Round Rasps: With a flat and a curved side, these tools are incredibly versatile, making them a favorite in our toolkit.
- Diamond Files: They're excellent for working on harder woods, offering longevity and durability that standard files can't match.
Each of these tools plays an important role in our wood-carving process, enabling us to bring our visions to life with precision and artistry.
Sharpening Stones Essentials
After exploring the variety of rasps and files, let's investigate the essentials of sharpening stones, important for maintaining the sharpness and precision of our carving tools.
Sharpening stones, or whetstones, come in various grits, from coarse to ultra-fine. We'll need a range of these to make sure our tools are at their best. Starting with a coarser grit, we remove any nicks or dullness from the blade. As we progress to finer grits, we refine the edge, achieving that keen sharpness important for detailed carving.
It's important we keep our stones flat. A dished or uneven stone won't sharpen effectively. We can use a flattening stone or a diamond plate for leveling our sharpening stones. Consistency in our sharpening angle also plays an important role. Holding the tool at a consistent angle against the stone ensures an even, sharp edge. Practice makes perfect here, and angle guides can assist beginners.
V-Tools for Fine Lines
Moving on, let's explore the world of V-tools, essential for crafting fine lines and intricate details in our wood carving projects. These tools are a must-have for any beginner looking to add texture, depth, and personality to their work. With their unique shape, V-tools allow us to create precise cuts that are otherwise challenging to achieve with other carving tools.
Here's why we love V-tools for our projects:
- Versatility: They're perfect for creating a variety of lines, from straight to curved, allowing for great flexibility in design.
- Precision: The sharp point and angled sides make it easy to carve fine details with accuracy.
- Efficiency: With a single stroke, we can carve clean, sharp lines, saving time and effort.
- Control: V-tools offer excellent control over the depth and width of each cut, making them ideal for intricate work.
- Ease of Use: Once you get the hang of it, they're straightforward to use, even for beginners.
Investing in a good set of V-tools can greatly enhance the quality and detail of our wood carving projects, making them an indispensable tool in our crafting toolbox.
Sandpaper for Finishing Touches
Having explored the precision of V-tools for carving, we now focus on the importance of sandpaper for adding those final, smooth touches to our wood projects. It's an essential step we can't overlook, as it transforms our work from merely good to outstandingly smooth and ready for finishing treatments like painting or staining.
We recommend starting with coarser grits to remove any rough patches or tool marks, gradually working your way to finer grits for that polished finish. It's a process that requires patience, but the results are well worth it. We usually begin with a 100 or 150-grit sandpaper for the initial smoothing. As we progress, we move to 220-grit to eliminate any lingering imperfections. Finally, for that glass-like surface, we end with 320-grit or higher.
Safety Equipment Must-Haves

Before we explore the intricacies of wood carving techniques, it's essential that we discuss the safety equipment every novice must have. While delving into your first project is exciting, ensuring you're well-protected is paramount.
Here's a breakdown of the safety gear you shouldn't go without:
- Safety glasses: Protect your eyes from wood chips and dust. It's a no-brainer, really. You've only got two eyes; let's keep them safe.
- Dust mask or respirator: Breathing in wood dust isn't just uncomfortable; it can be harmful over time. A quality dust mask or respirator keeps those particles out of your lungs.
- Cut-resistant gloves: Sharp tools and inexperienced hands can be a risky combination. These gloves offer an extra layer of protection against accidental cuts.
- Hearing protection: If you're using power tools, they can get loud. Earplugs or earmuffs protect your hearing, making sure you can still enjoy the sounds of nature after you're done carving.
- Apron or work clothes: Keep the mess on your work clothes, not your favorite jeans. Plus, it adds an extra layer between your skin and any flying debris.
We're all excited to create beautiful pieces, but let's make sure we're doing it safely.
Frequently Asked Questions
How Do I Maintain My Wood Carving Tools to Prevent Rust and Ensure Longevity?
We regularly clean and dry our tools after use, apply a light coat of oil to prevent rust, and store them in a dry place. Sharpening them frequently also guarantees they last longer.
Can I Use Wood Carving Tools for Other Materials, Such as Clay or Soft Stone, or Are They Strictly for Wood?
We've wondered if we can use our wood carving tools on materials like clay or soft stone. It turns out, while they're designed for wood, they can indeed be adapted for other soft materials.
What Are the Environmental Impacts of Wood Carving, and How Can I Ensure My Hobby Is Sustainable?
We're exploring the environmental impacts of wood carving, aiming to make our hobby more sustainable. We've found that choosing responsibly sourced wood and recycling scraps markedly reduces our ecological footprint, ensuring we're part of the solution.
Are There Any Recommended Exercises or Practices to Improve Hand Strength and Precision for Better Control of Wood Carving Tools?
We've found that incorporating grip-strengthening exercises and practicing detailed drawing can greatly improve our hand strength and precision. These activities enhance our control over the tools, making the carving process smoother and more efficient.
How Can I Safely Store My Wood Carving Tools to Prevent Accidents or Damage to the Tools When Not in Use?
We've found that storing our wood carving tools in a dedicated toolbox or a wall-mounted rack prevents accidents and keeps them in top condition. It's also important to keep them clean and dry to avoid rust.


