
Let's acknowledge the quirks of pine, how it can be both a blessing and a bane for woodworkers.
Staining isn't just about changing its color; it's about enhancing pine's durability, evening out its notorious blotchiness, and giving it a finish that can stand the test of time.
But why is this process considered essential, and not just another step in woodworking?
Stick around, and we'll explore the transformative power of staining pine, uncovering how it elevates not just the wood's aesthetic but its overall integrity.
Key Takeaways
- Staining pine wood enhances its natural grain, making each piece visually distinct and appealing.
- It evens out color variations and blotchiness, achieving a more uniform appearance.
- Applying stain increases pine's resistance to environmental damage, scratches, and wear.
- Regular maintenance of stained pine ensures its longevity and preserves its beauty in woodworking projects.
Understanding Pine Wood Characteristics

Before diving into staining techniques, it's important to understand that pine wood, known for its versatility and affordability, presents unique characteristics that can greatly affect the final finish. We're dealing with a softwood that's not only lightweight but also features a distinct grain pattern, which includes knots and a wide range of color variations. These natural attributes can lead to uneven stain absorption, which often results in blotchy finishes if not properly addressed.
We've found that pine's soft nature allows it to absorb stain at different rates across the board, especially between the softer, lighter areas and the harder, darker knots. This can be quite a challenge when we're aiming for a uniform look. Additionally, the resin content in pine varies, influencing how the wood accepts stain. Some areas might soak up the stain quickly, while others resist, creating an inconsistent appearance.
To tackle these challenges, we've learned that preparation is key. Sanding the wood thoroughly to create a smooth surface and applying a pre-stain wood conditioner are vital steps. These preliminary actions help to somewhat mitigate pine's unpredictable nature, ensuring a more even and aesthetically pleasing finish.
Benefits of Staining Pine
Staining pine not only enhances its natural beauty but also offers several important benefits, making it a popular choice for many woodworking projects.
To begin with, we've noticed that staining helps to even out the color variations found in pine. This type of wood is known for its knots and streaks, which can be quite pronounced. By applying stain, we can achieve a more uniform appearance, which is often desirable for furniture and cabinetry.
Additionally, staining protects the pine from environmental elements. It acts as a barrier against moisture, preventing warping and cracking. We've seen how untreated pine can easily suffer from these issues, shortening its lifespan significantly.
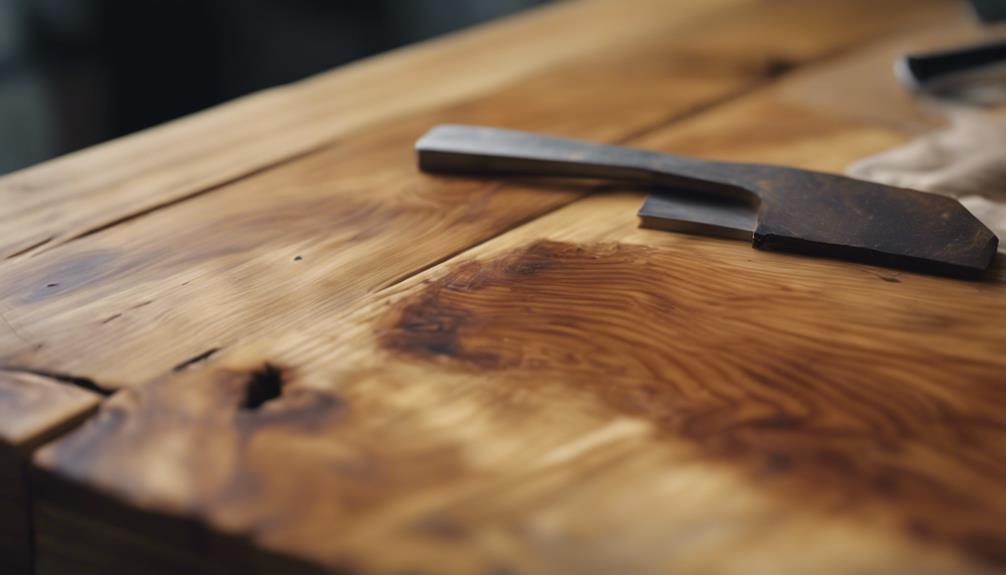
We also appreciate how staining brings out the depth and character of pine's grain. This process can highlight the unique texture of the wood, making each piece distinct. It allows us to create stunning visual effects, enhancing the overall aesthetic of our projects.
Furthermore, staining pine can increase its resistance to scratches and everyday wear and tear. This added durability is important for items like tables and flooring, ensuring they maintain their beauty over time.
Preparing Pine for Staining
Having discussed the benefits of staining pine, we'll now focus on how to properly prepare pine wood for staining to guarantee excellent results.
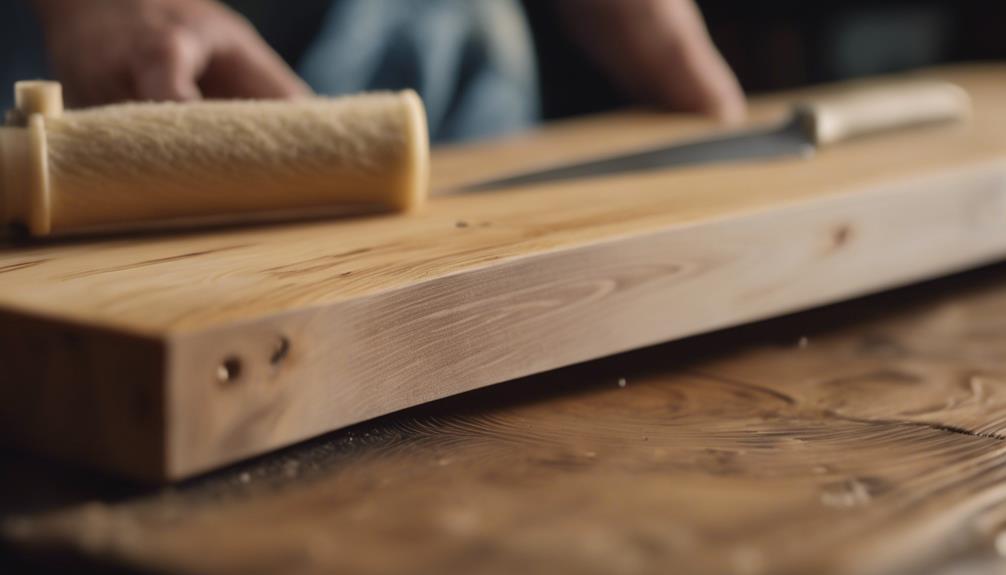
First, it's important to start with a clean surface. We'll remove any dirt, grease, or old finishes that could prevent the stain from adhering properly. Using a wood cleaner or a simple mixture of water and mild detergent can do the trick. After cleaning, we must let the wood dry completely.
Next, sanding is essential. We'll start with a coarse-grit sandpaper to remove any rough patches or imperfections and gradually move to finer grits. This step ensures the wood has a smooth surface, which is key for an even application of the stain. Remember, pine is a softwood, so we must sand gently to avoid creating grooves or scratches.
Step-by-Step Staining Process
Now that we've prepared the pine wood, let's explore the step-by-step process of staining it to achieve that perfect finish. We'll guide you through each step, guaranteeing clarity and preciseness to make this process as straightforward as possible.
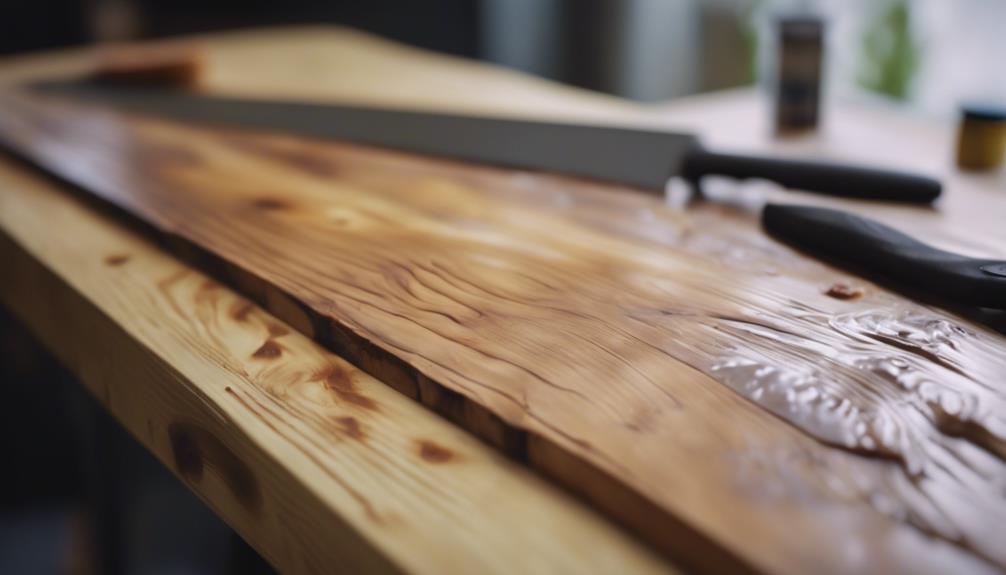
First, make sure your workspace is well-ventilated and you're wearing protective gear. Stir the stain thoroughly but avoid creating bubbles. Then, using a clean cloth or brush, apply the stain in the direction of the wood grain. Let it soak for a few minutes; the longer it soaks, the darker the stain. Wipe off any excess stain with a clean cloth, once again following the grain.
For those who appreciate visual guidance, here's a concise table summarizing the main steps:
| Step | Action | Tip |
|---|---|---|
| 1 | Apply Stain | Use cloth or brush, follow grain |
| 2 | Soak | Time varies for desired darkness |
| 3 | Wipe Excess | Use clean cloth, follow grain |
Allow the stained wood to dry completely, which might take up to 24 hours or as recommended by the stain manufacturer. Remember, we're not delving into maintenance after staining here; our focus is on achieving that perfect finish through staining alone.
Maintenance After Staining
After achieving the perfect finish through staining, it's imperative to focus on maintenance to guarantee the wood's longevity and beauty. We've learned that while staining pine wood enriches its appearance and protects it, the journey doesn't end there. Regular upkeep is essential to make certain the wood remains vibrant and durable over time.
Here's how we can maintain our stained pine wood effectively:
- Regular Dusting: We need to dust the wood regularly to prevent buildup. Using a soft, dry cloth will help avoid scratching the surface.
- Avoid Direct Sunlight: We should place the wood in areas where it won't be exposed to direct sunlight for prolonged periods. UV rays can fade the stain over time.
- Use Protective Coatings: Applying a protective finish, like polyurethane, after staining not only enhances the wood's appearance but also adds a layer of protection against scratches and water damage.
We've found that these steps greatly extend the life of our stained pine wood projects. It's not just about the initial application; maintenance plays a vital role in preserving the wood's beauty and functionality. By adhering to these practices, we make sure our woodworking projects remain stunning and robust for years to come.
Frequently Asked Questions
How Does Staining Pine Wood Affect Its Durability and Resistance to Environmental Factors Over Time?
We've found that staining pine wood greatly enhances its durability and resistance to environmental factors like moisture and sunlight. Over time, this process helps maintain the wood's integrity and appearance, making it last longer.
Can Staining Pine Wood Help in Reducing the Chances of Wood Pests, Like Termites and Beetles, Infesting the Wood?
We've found that staining pine can actually reduce the risk of pests, like termites and beetles, attacking the wood. It's a great way to add a layer of protection while enhancing the wood's appearance.
Are There Any Health Considerations or Precautions to Be Aware of When Staining Pine Wood, Especially in Enclosed Spaces?
We've got to be cautious when staining pine wood, especially in enclosed spaces. It's essential to guarantee good ventilation and wear protective gear to avoid health issues from fumes and chemicals we're exposed to.
How Does the Choice of Stain Color Impact the Perceived Size and Ambiance of a Room When Applied to Pine Wood Furniture or Features?
We've discovered that the stain color we choose profoundly affects a room's perceived size and ambiance, especially when it's applied to pine wood furniture or features, making the space feel warmer or larger.
What Are the Economic Implications of Staining Pine Wood? Does It Significantly Increase the Value of Pine Wood Products or Projects?
We've found that staining pine wood can indeed boost the value of our products. It not only enhances their appearance but also attracts higher-paying customers, making it a cost-effective step in our woodworking projects.


